Skip to content

Demo: a fictional business.

Concept by Devraj Goswami →
Rimrock & Rafter Homes

One house, from the first pour to the first night.

Custom homes on the Boise Foothills. 84 finished since 2011.

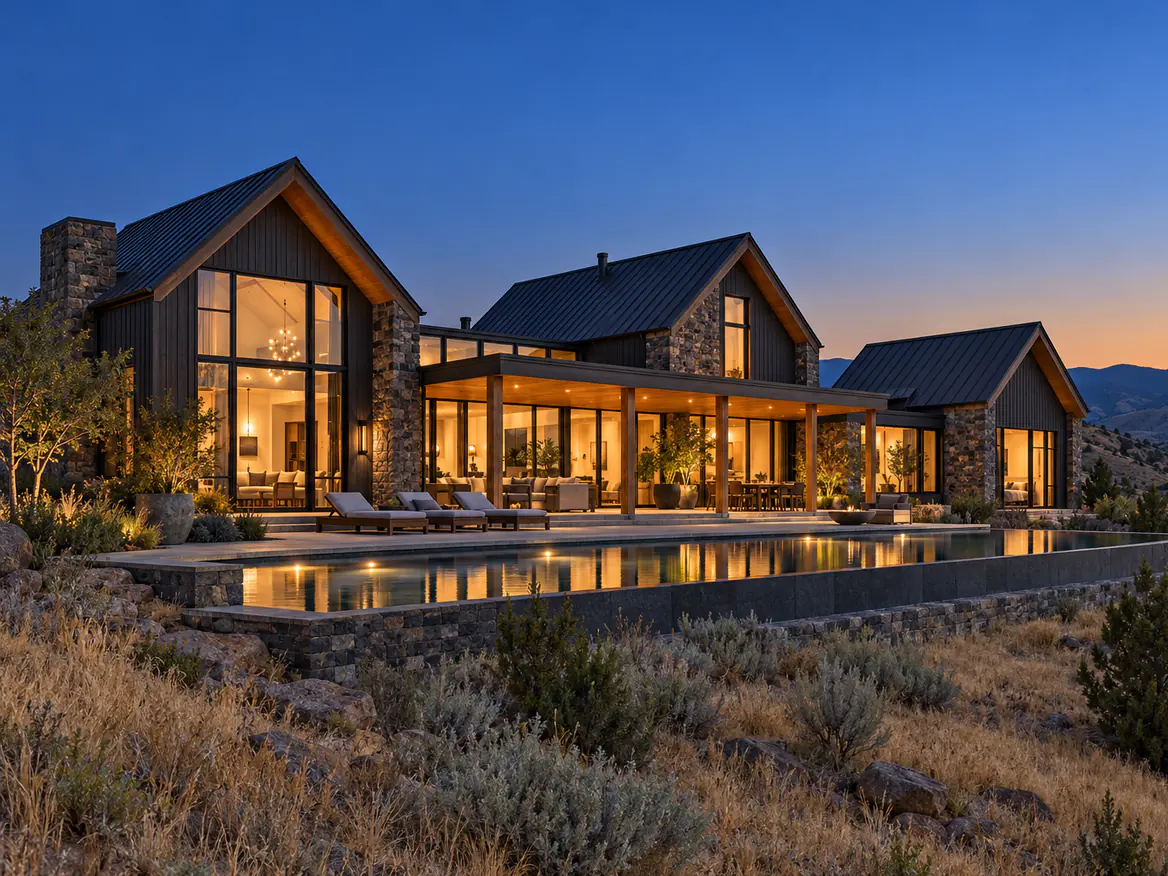
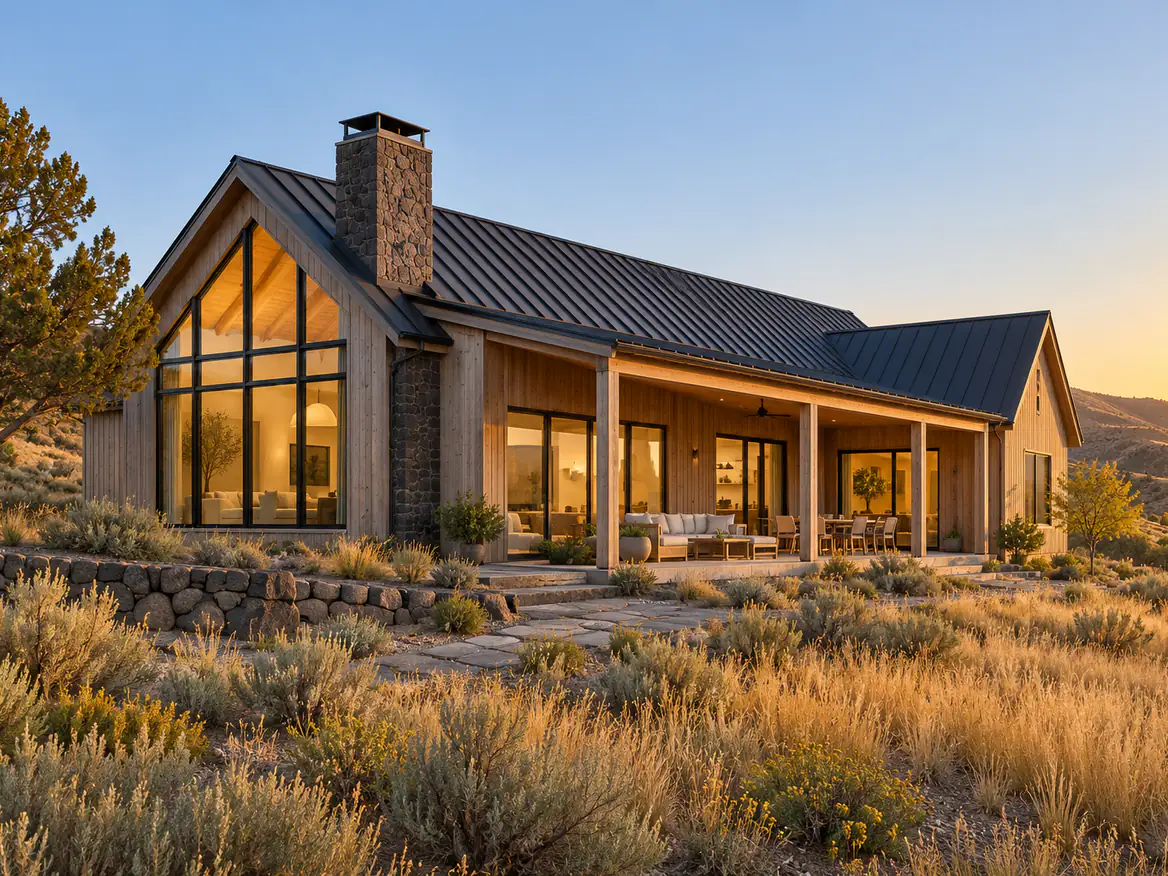
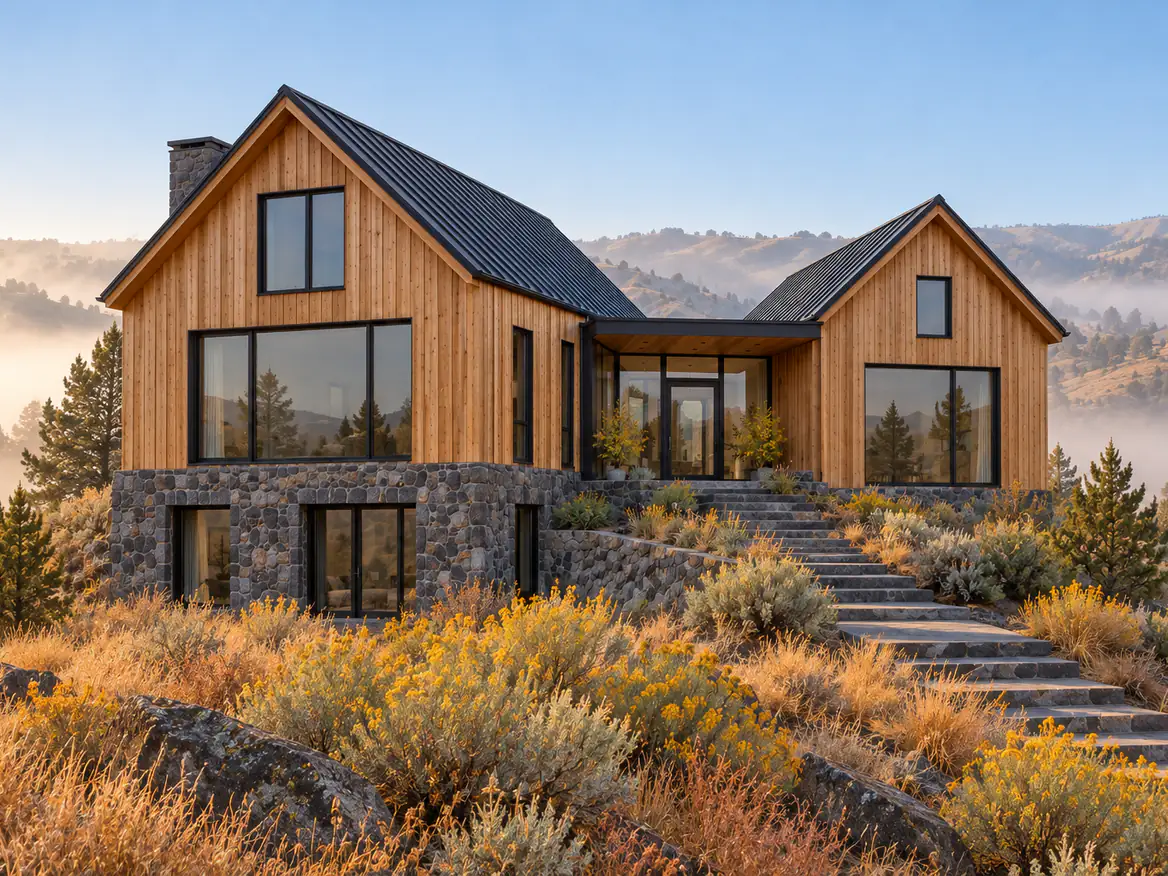
The finished house at golden hour: a charcoal board-and-batten home with two gabled wings, a bronze standing-seam roof, a stone base and a covered porch on cedar posts, on a dry foothill lot.Illustrative render

The build

  1. Stage 01 of 06Before week 1

    Drawn

    Survey, soils report and drawings agreed. The permit is filed before anything is staked.

  2. Illustrative render

    Stage 02 of 06Weeks 1–5

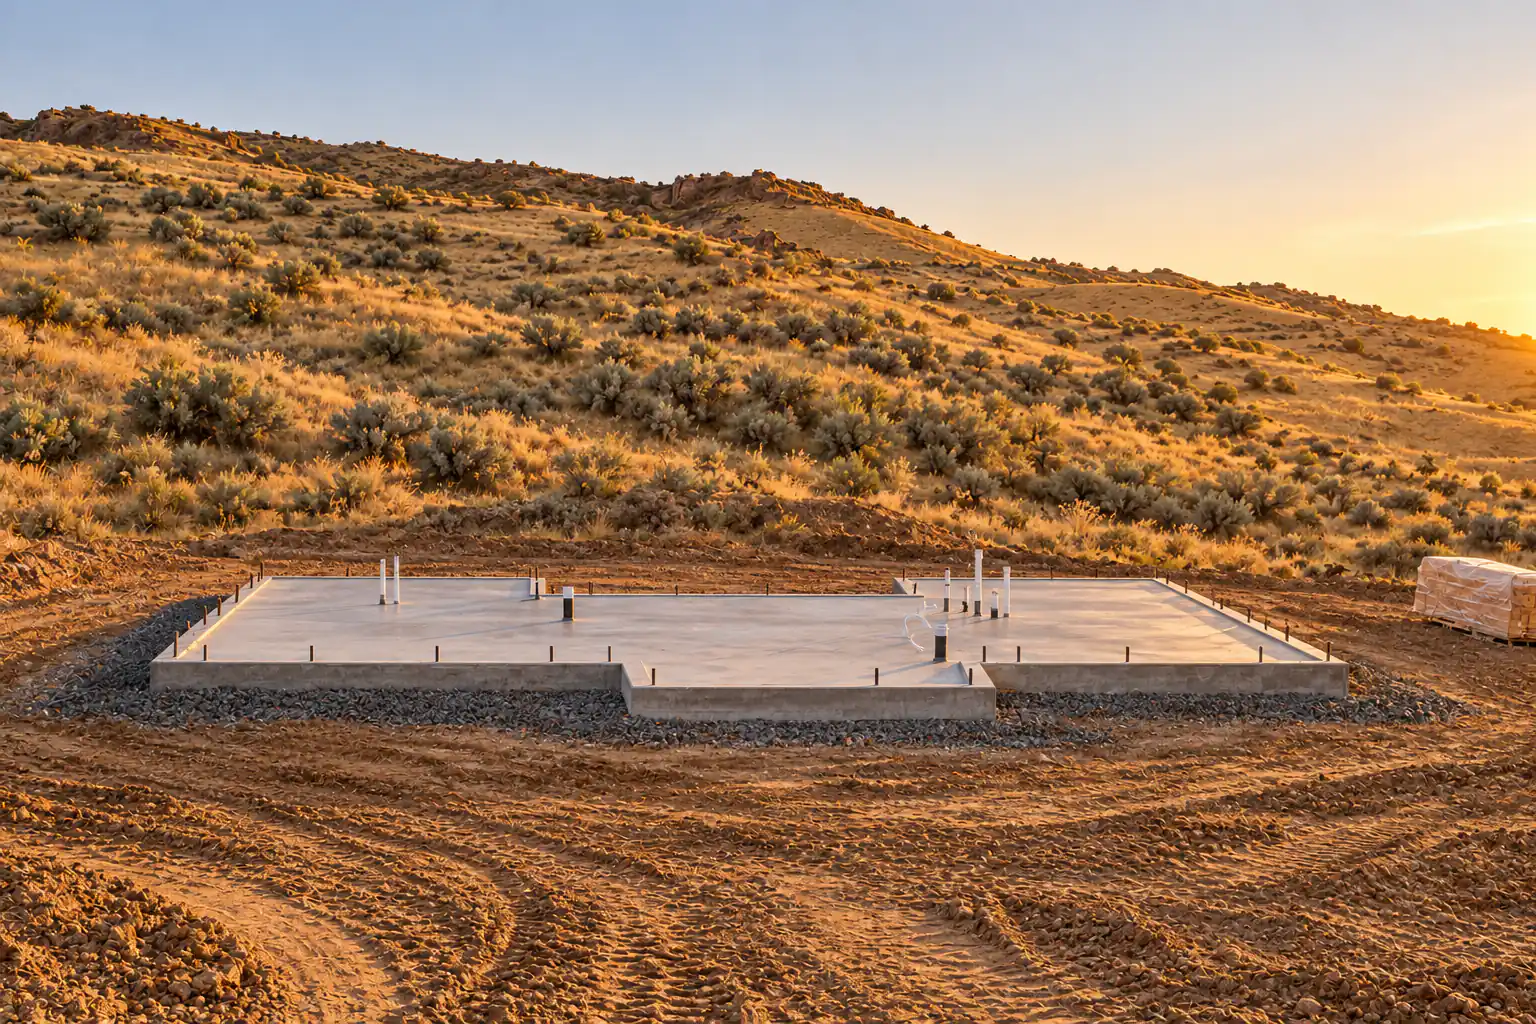
    Slab

    Footings dug below frost depth, plumbing set in gravel, then the slab poured and cured.

  3. Illustrative render

    Stage 03 of 06Weeks 6–10

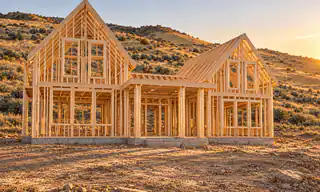
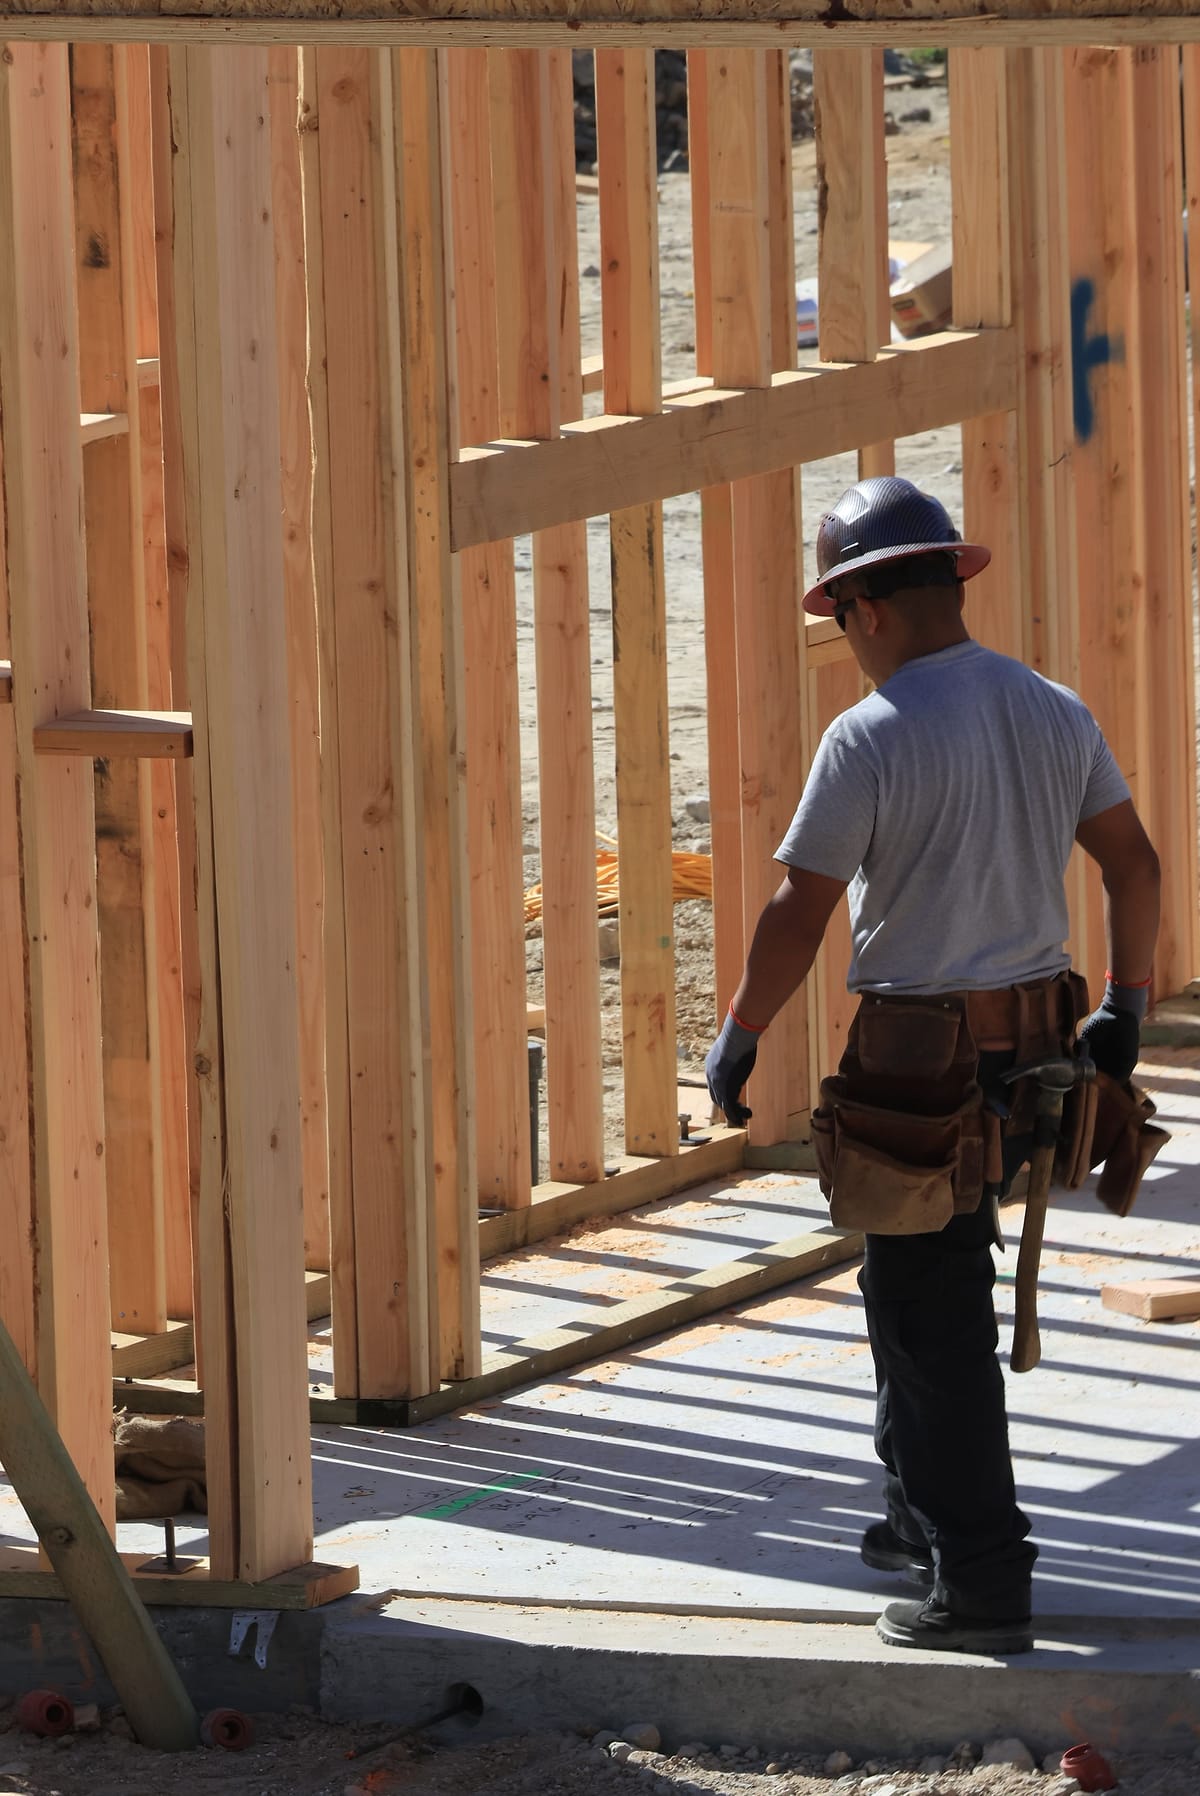
    Framing

    Walls, floor joists and rafters go up, 16 inches apart, then the framing inspection.

  4. Illustrative render

    Stage 04 of 06Weeks 11–13

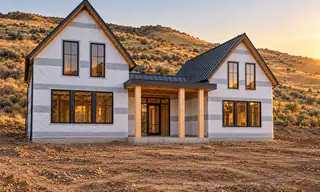
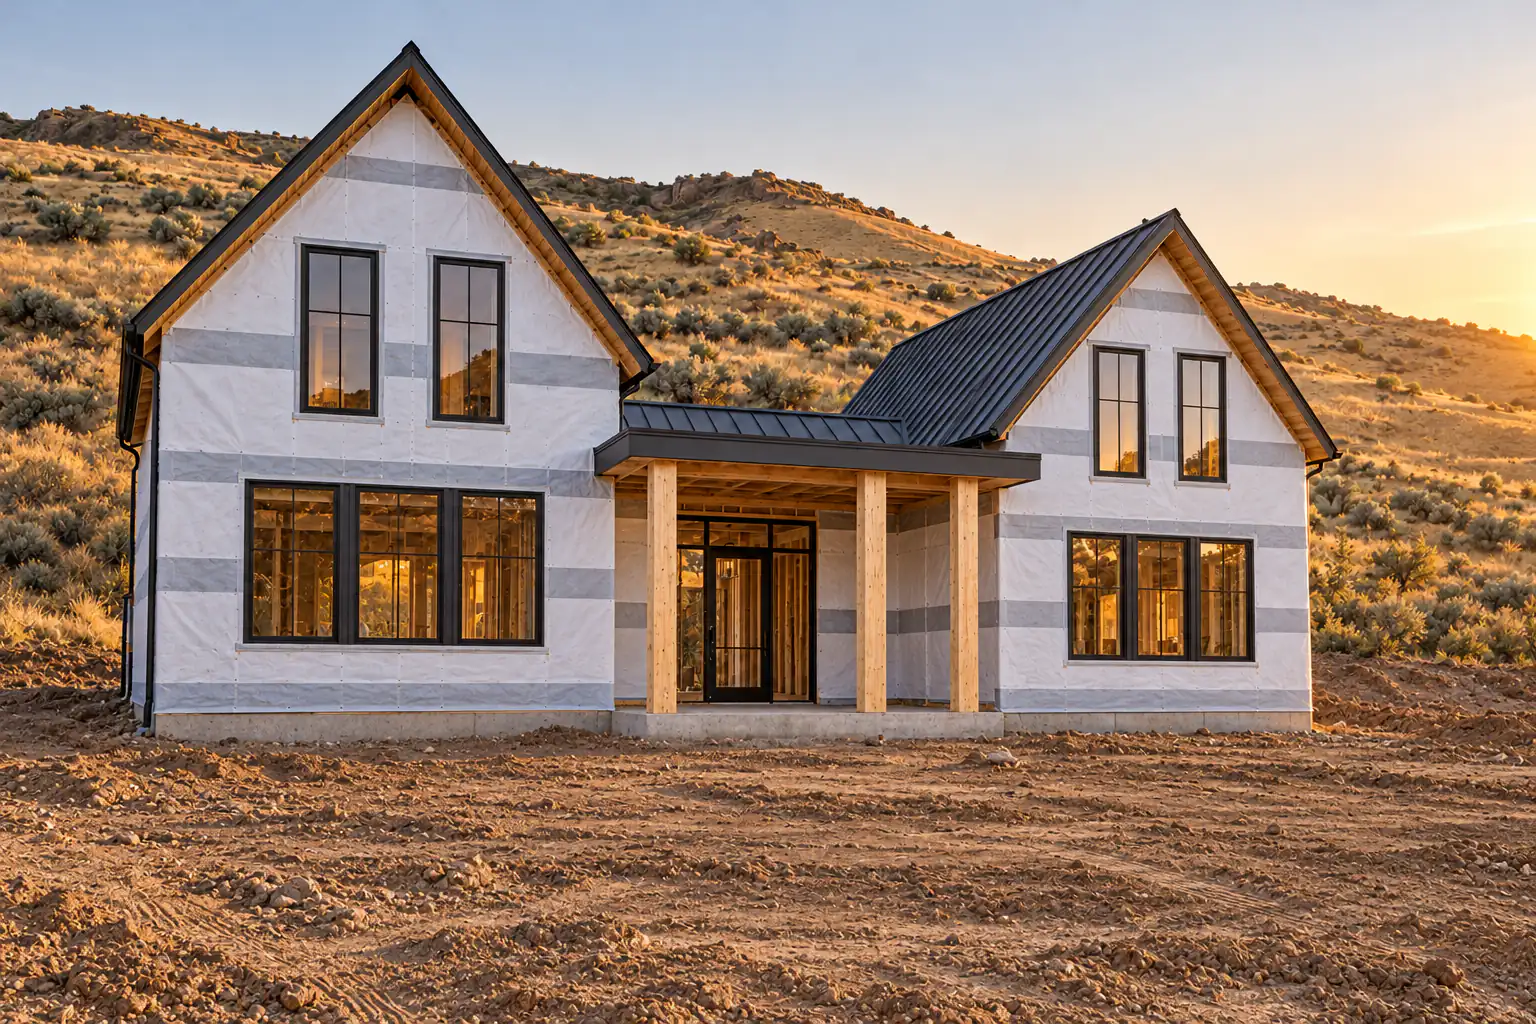
    Roofed

    Metal roof, windows and weather barrier on. The house is dry before any finish goes in.

  5. Illustrative render

    Stage 05 of 06Weeks 14–20

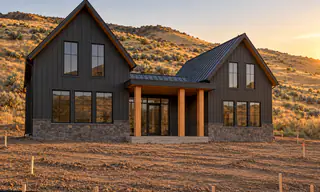
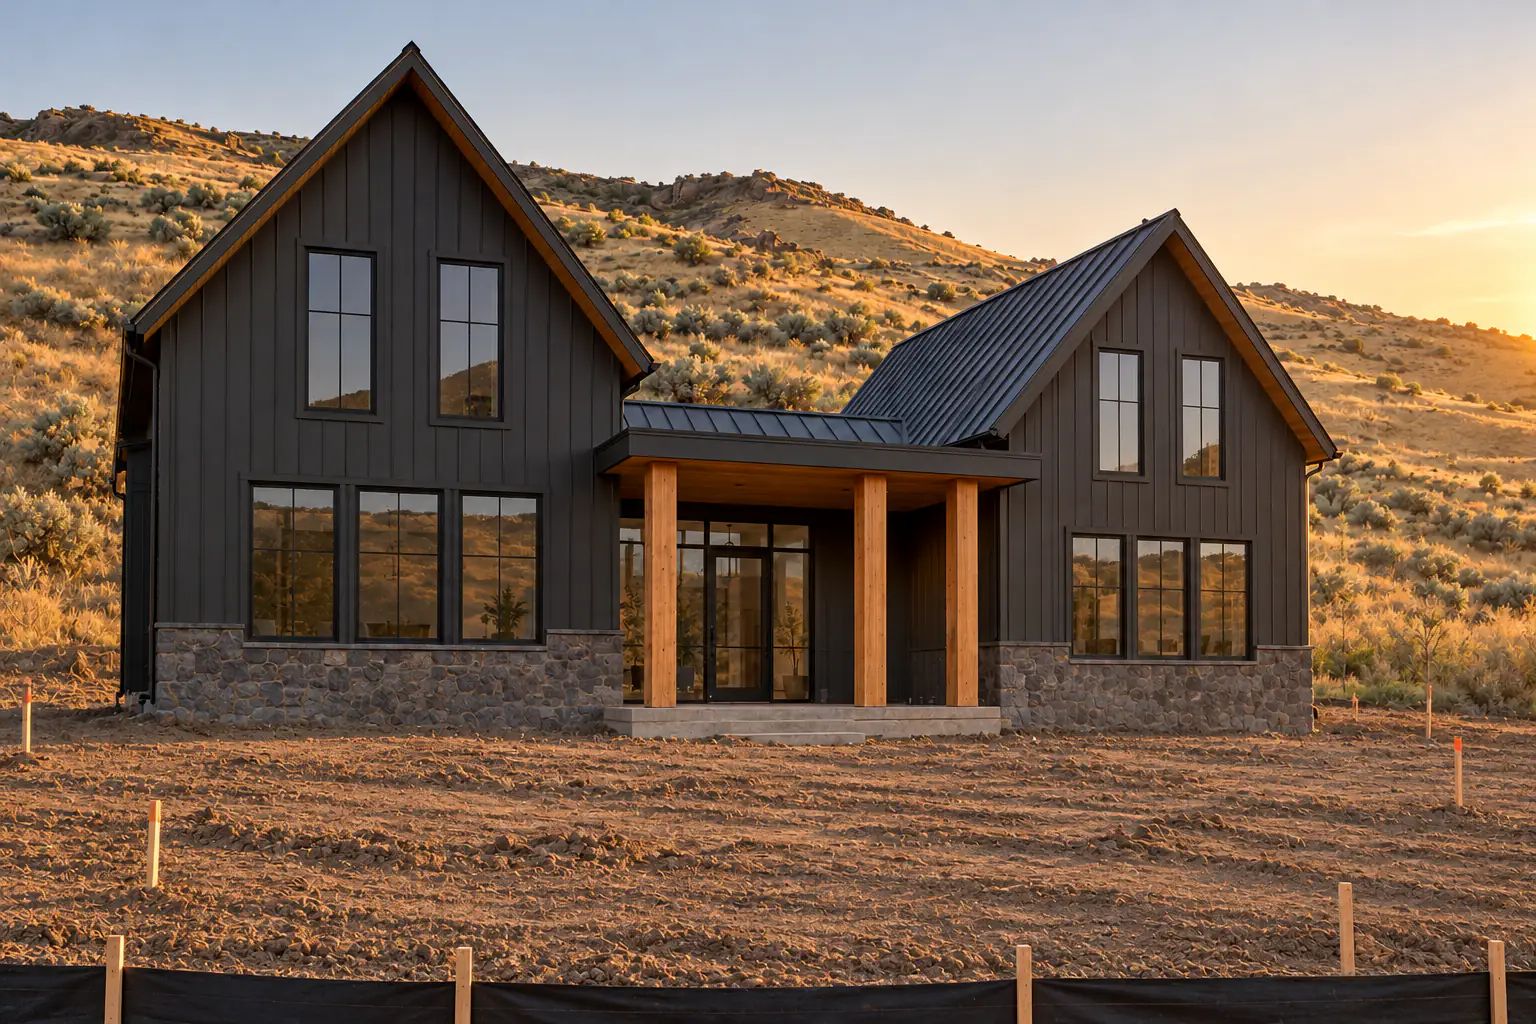
    Exterior

    Board-and-batten siding, stone base and cedar posts, with ember-resistant vents behind.

  6. Illustrative render

    Stage 06 of 06Weeks 21–30

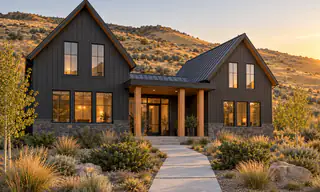
    Home

    Finishes, landscaping and a final walk-through. Then the keys, and the lights come on.

How we build

Six steps, in the order the ground allows.

Each step ends with something you can walk through and a decision that is yours.
  1. Step 1 of 6

    Drawn, draw it: read this step

    Survey, soils and drawings, agreed before we break ground.

    When
    Before week 1
    You decide
    The floor plan, the orientation to the view, and the finish level.
  2. Step 2 of 6

    Slab, pour it: read this step

    Footings below frost depth, then the slab, cured before framing.
    When
    Weeks 1–5
    You decide
    Where the plumbing stubs and floor drains go, and the slab finish.
    The lot at the first stage: a freshly poured concrete slab with plumbing stub-ups and a gravel border on raw graded dirt, foothills behind.Illustrative render
  3. Step 3 of 6

    Framing, frame it: read this step

    The house takes shape, and the inspector signs off the structure.
    When
    Weeks 6–10
    You decide
    Window and door positions, and the last layout changes, which are cheapest now.
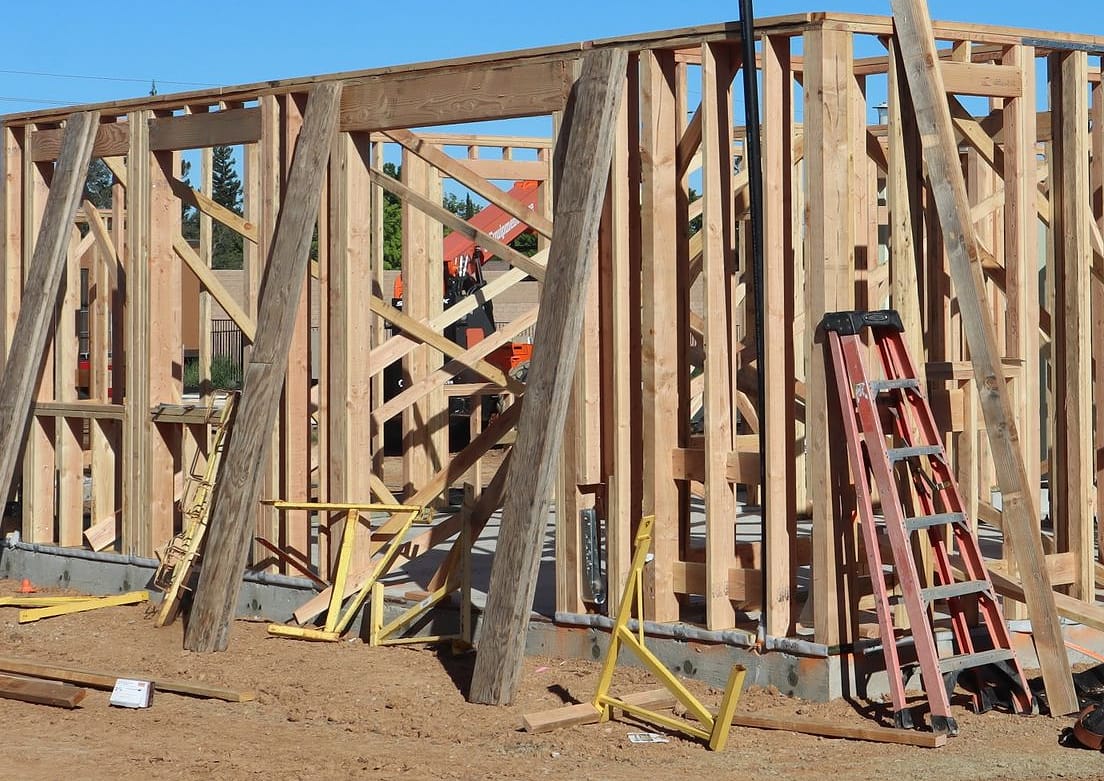
    A framer in a hard hat and tool belt stands beside a wall of fresh studs.
  4. Step 4 of 6

    Roofed, close it in: read this step

    Roof, windows and weather barrier, so the inside stays dry.
    When
    Weeks 11–13
    You decide
    Roof color, window finish and the exterior lighting plan.
    The house closed in: white weather barrier on the walls, the dark metal roof on and the windows in, before any siding.Illustrative render
  5. Step 5 of 6

    Exterior, clad it: read this step

    Fire-aware siding, stone base and insulation.
    When
    Weeks 14–20
    You decide
    Siding and stone selections, and the landscape zone next to the walls.
    The finished exterior in bare topsoil: charcoal siding, stone base and cedar posts, with construction stakes and a silt fence at the front edge.Illustrative render
  6. Step 6 of 6

    Home, hand it over: read this step

    Finishes, final inspection and a written punch list.
    When
    Weeks 21–30
    You decide
    Paint, hardware, fixtures, and the date you want to move in.
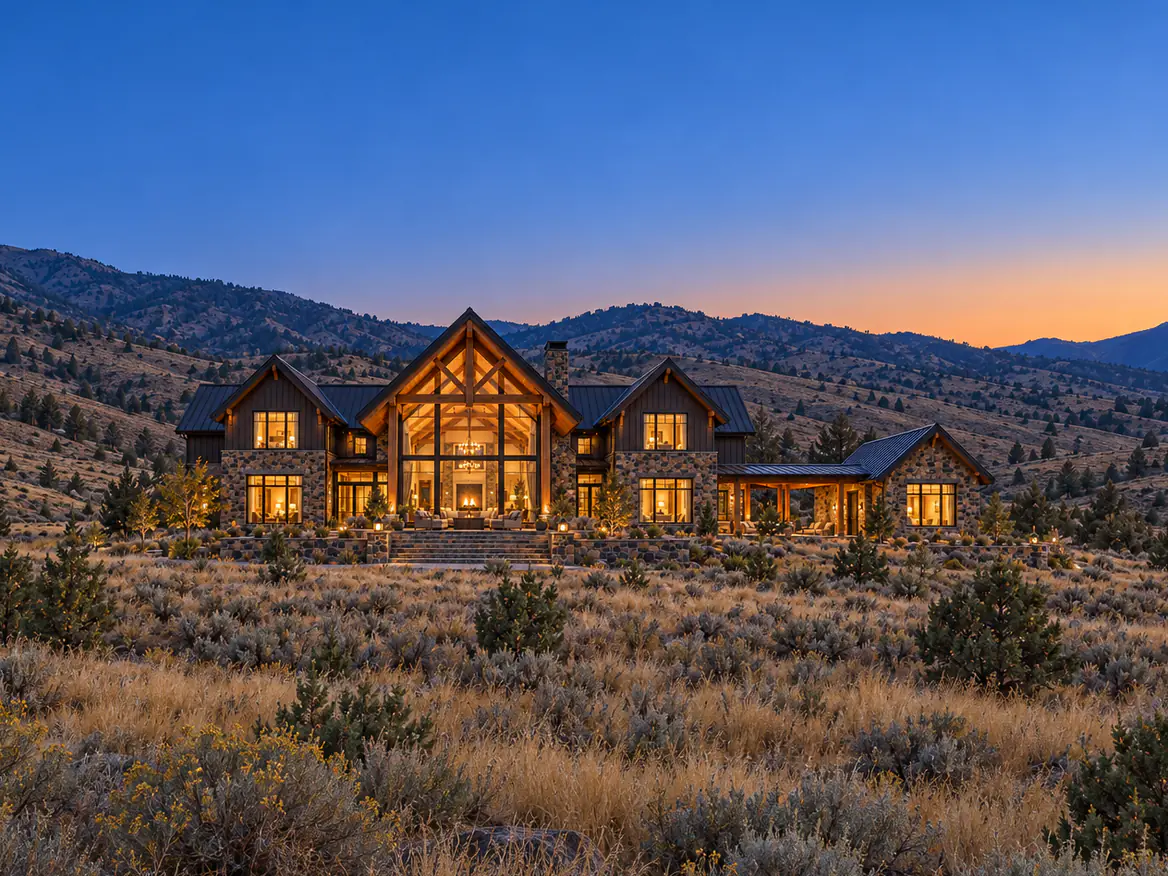
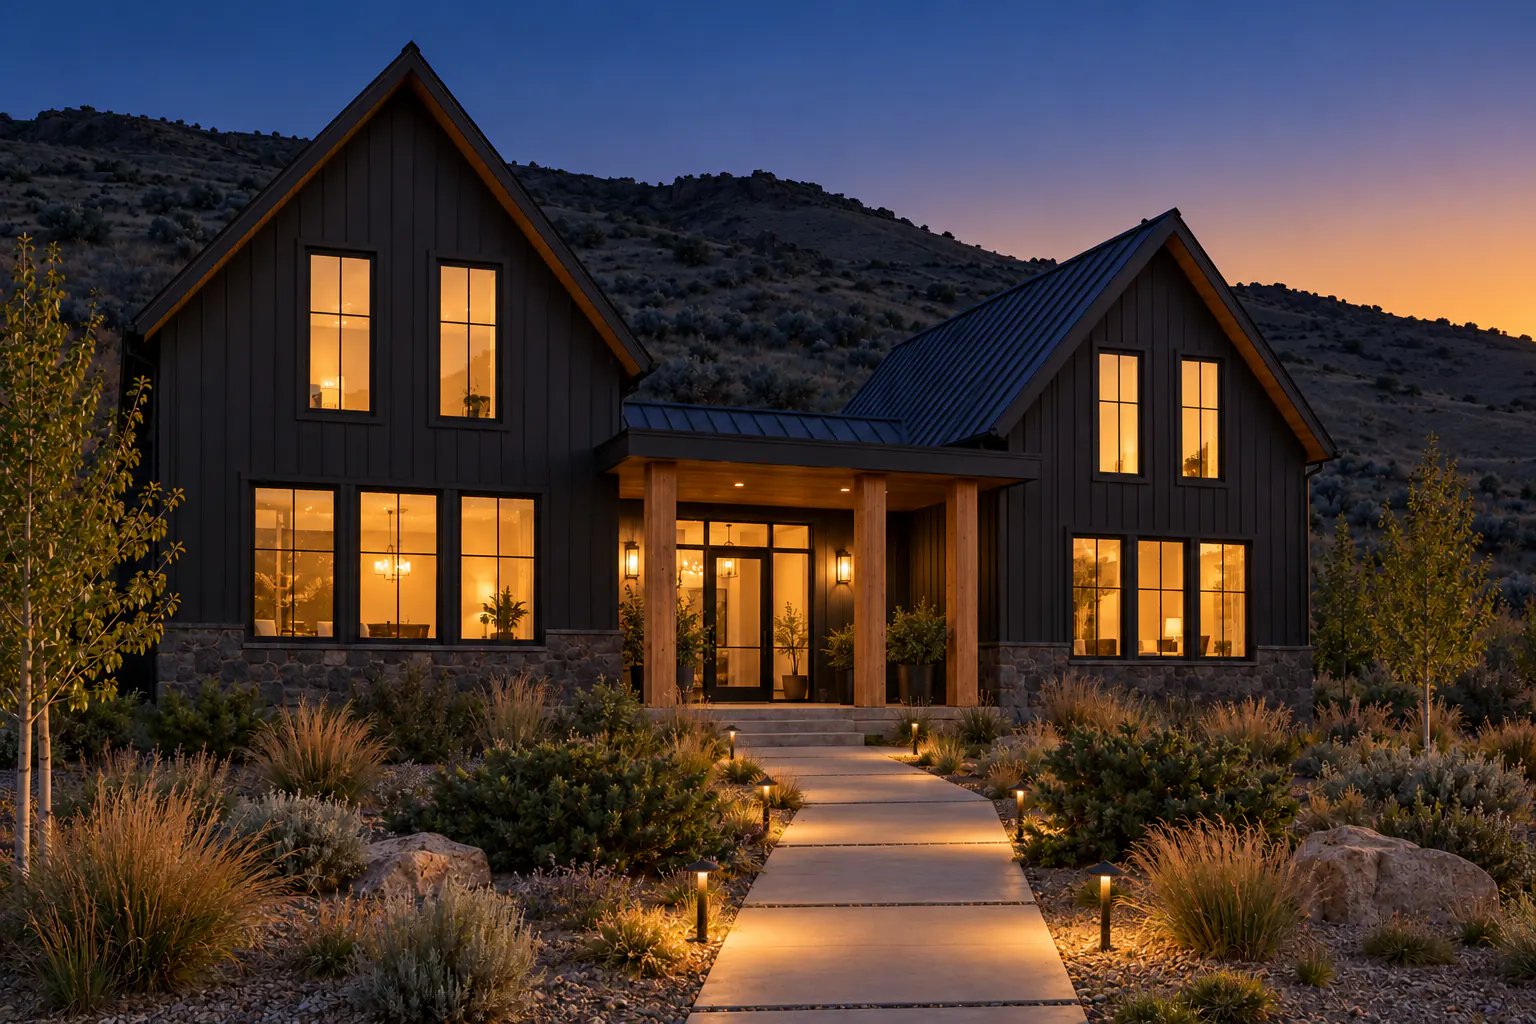
    The finished house shortly after sunset: every window lit, lanterns at the porch and low lamps along the path under a deep blue sky.Illustrative render

Finished homes

Illustrative renders

See all six

The first night

Same house, two light conditions.

A house is judged twice: once in daylight, and once when the family is home and the windows are lit. We photograph both.
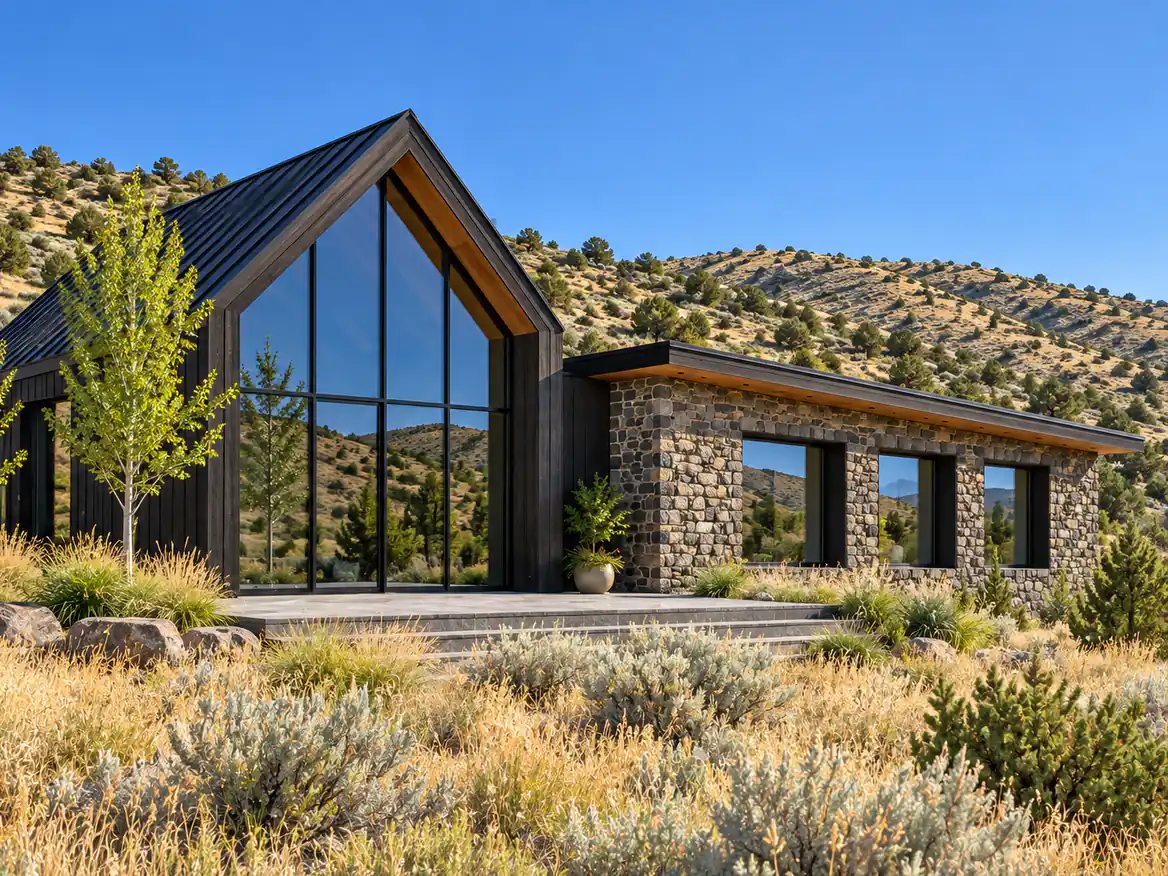
The finished house at golden hour: a charcoal board-and-batten home with two gabled wings, a bronze standing-seam roof, a stone base and a covered porch on cedar posts, on a dry foothill lot.
The finished house shortly after sunset: every window lit, lanterns at the porch and low lamps along the path under a deep blue sky.
Illustrative render
Show the house by
Late afternoon. Charcoal board and batten, a standing-seam roof and a stone base.After sundown. Warm light from inside, and low lamps along the path.

Three sample plans, drawn the way we draw them.

See the plans

1 of 3

  • The Hollis

    One level, built around a vaulted great room.

    Area, sq ft
    2,180
    Beds
    3
    Baths
    2
    Levels
    1
  • The Sagebrush

    Two gabled wings joined by a covered porch. This is the house on this site.

    Area, sq ft
    2,840
    Beds
    4
    Baths
    3
    Levels
    2
  • The Owyhee Rim

    Room for a household that is still growing, with a bonus room over the garage.

    Area, sq ft
    3,420
    Beds
    4
    Baths
    3.5
    Levels
    2
Bare wood stud walls on a new-build lot, with a ladder inside. Crew photo, credited on the credits page.

Site diary

Week 9: framing inspection passed

Week
9
Stage
Framing
Entry
Illustrative entry
  • Inspector on site at 8:30. Shear walls, hold-downs and nailing checked against the drawings.
  • Rafters and ridge beam signed off. Electrical and plumbing rough-in follows on Monday.
  • Photos of every wall, before it is covered, are in the owner's folder.

This is the update you get every week: what happened, what is next, and photos.

Visit

Walk the site with the person who is building it.

A site walk takes about an hour. You see a house at the stage it is in, ask what you like, and leave with nothing to sign.

Tuesday to Thursday evenings and Saturday mornings

Book a site walk

Demo: no address is shared and nothing is sent.

Length
About 60 minutes
Group
1–4 people
Cost
None